Ranger School Craft Challenge

When Zac left for Ranger School, I had no idea how I was going to occupy my time. I had a part time job, two fur babies and a whole lot of free time. We talked about all of the things I COULD do to fill my time, like working out, trying to make friends, or trying new recipes. And although I ended up doing all of those things, at the time the only idea we came up with that I thought I would stick to was a craft challenge.

The challenge was simple. For every week Zac was away, I had to complete at least one project and blog about it. In the end, he was gone for 13 weeks and I completed over 13 projects. There were a couple weeks I didn’t blog about my project because I didn’t want Zac to see it online before he saw it in person.

This challenge started as a way for me to fill time, but by the end of the 13 weeks, I had to find time to complete each project. I stepped out of my comfort zones and made friends, started going to the gym, and trying new things. When it was all said and done, this challenge jumpstarted my own “Ranger School” journey. I have changed and grown so much since the day I dropped Zac off. I did so much more than just wait for him to come home.

Well here it is! All the projects I completed in 13 weeks!

Ranger School Craft Challenge

Week One: Patriotic 4th of July Wreath

IMG_0440

Week Two: Travel Globe

IMG_0481

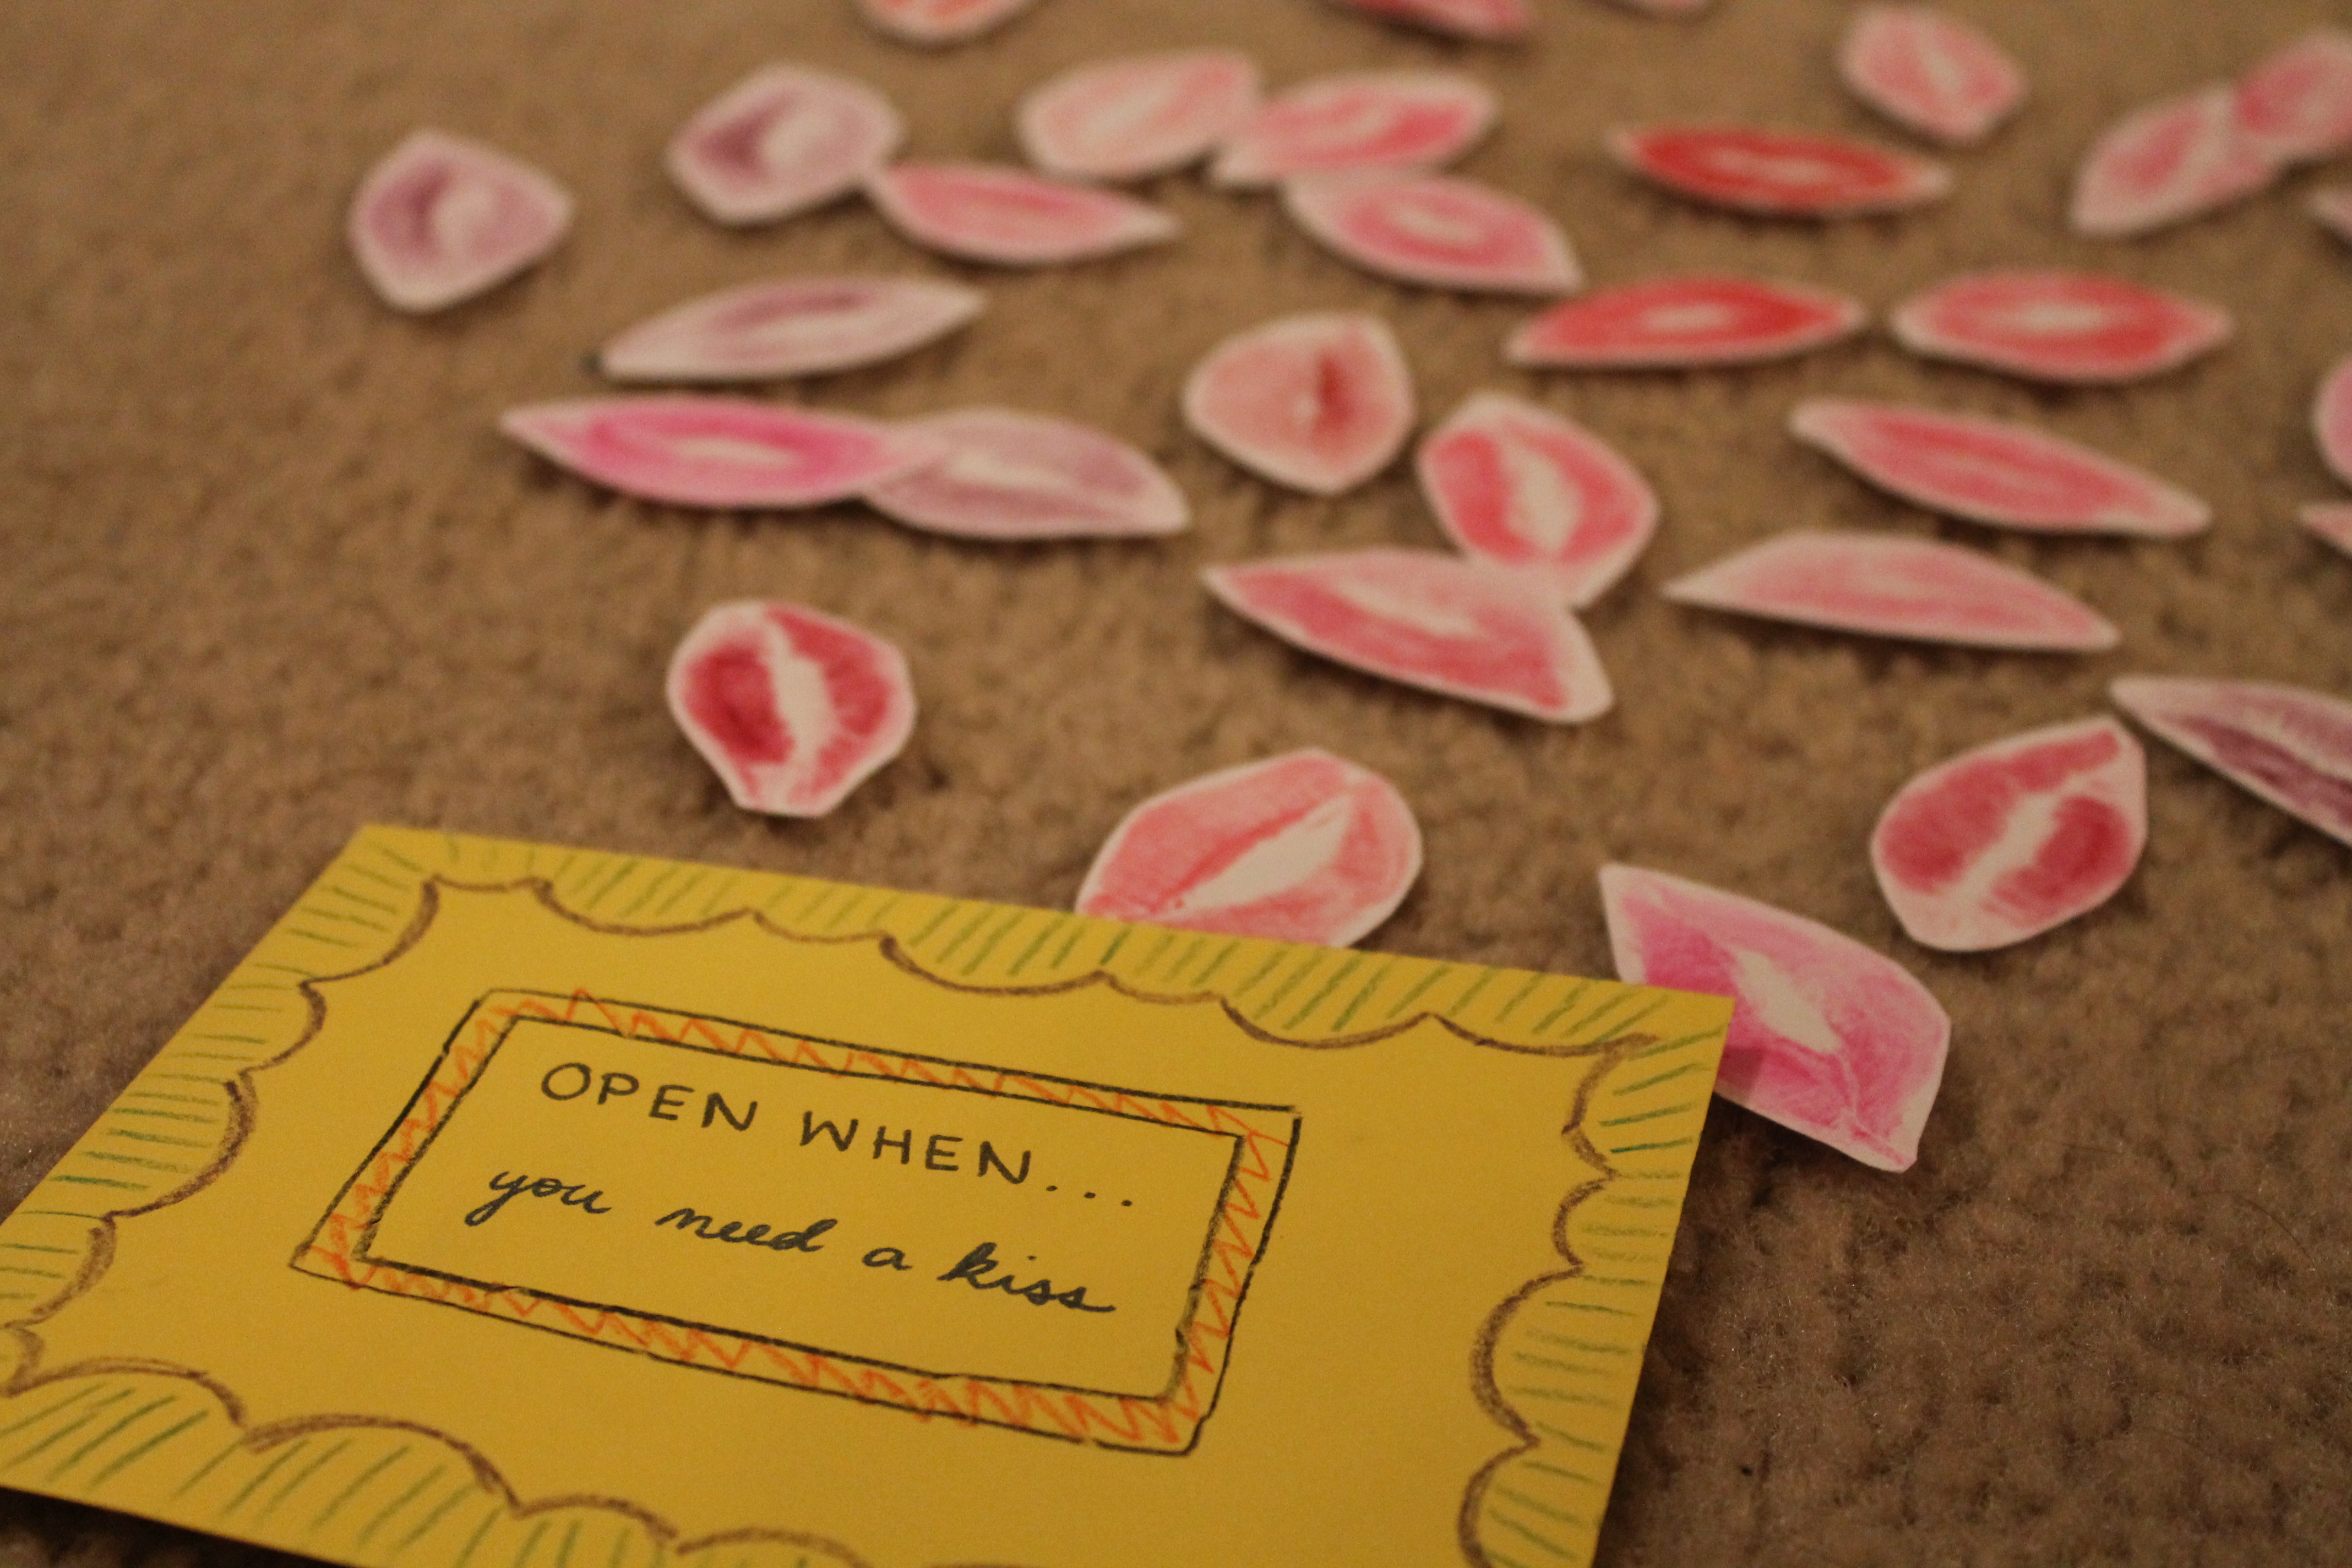
Week Three: Open When Letters & Batman Care Package

IMG_0484IMG_0664

Week Four: Office Chair Makeover

IMG_0766

Week Five: Rolodex Makeover

IMG_0500

Week Six: Keepsake Treasure Box Makeover

IMG_0732

Week Seven: Anniversary Care Package

wpid-wp-1440963912696.jpeg

Week Eight: Paper Anniversary Gift 

wpid-wp-1443104980800.jpeg

Week Nine: Olaf Painting

wpid-wp-1443013714731.jpeg

Week Ten: Hawaii Care Package

wpid-wp-1441144587620.jpeg

Week Eleven: Ribbon and Lace American Flag

wpid-wp-1440897979325.jpeg

Week Twelve: Anniversary Date Wall Hanging

wpid-wp-1438479121872.jpeg

Week Thirteen: Belle Dress & Beast Sign

wpid-wp-1443008426382.jpeg

I am so glad I decided to do this. Not only did it give me something to do, it gave me something to talk to people about on the Ranger School Support groups. It made reaching out to make friends a little bit easier. And once I made those friends I found myself stepping out of my comfort zone and trying new foods, going to the gym, and eventually jump starting a new lifestyle. This challenge helped get me out of a funk that came from being in a new place by myself and now I feel completely at home. And completing a weekly craft or project has almost become a habit of mine now. I have several other projects in the works and I can’t wait to share them with you!

lyssa

Open When Letters

IMG_0484“Open When Letters” are a pretty common thing on Pinterest these days. Everyone has their own take on them. If you haven’t heard of them, “Open When Letters” are letters written in bulk and given to someone all at one time so they can open them later. Each envelope is labeled with a different situation in which it should be opened. For example, an envelope could be labeled “Open When It’s Raining” or “Open When You’re Angry”.

People have been making “Open When Letters” for a wide range of reasons. I have seen them given as graduation gifts to high schoolers, as a going away presents from one friend to another, and something a couple holds onto in a long distance relationship. For as often as they pop up on Pinterest, I never thought I would ever actually want to make them.

Until my husband went to Ranger School.

I found a group of wives and girl friends whose significant other was also in Ranger School with Zac. Writing “Open When letters” was recommended to us. We were told that students would cling to them during their second phase so sending them back after their Darby Pass with letters in had would be helpful.

So I decided to give it a try. Here’s what I came up with.

IMG_0503Supplies:

  • Colorful Envelopes
  • Paper or Stationary
  • Markers or Colored Pencils/Pens
  • Access to Printing Pictures
  • Laminate sheets (optional)
  • Scissors

**I bought a blank stationary kit so everything would match. The paper was small, which worked for my situation because Zac wouldn’t always have a lot of time to read these when he needed them. I printed all of the pictures I needed at home from my printer. I also bought laminate sheets from target that didn’t require a machine. If your intended recipient isn’t going to be drudging through swamps, you probably don’t need to laminate your pictures.

Directions:

The possibilities for this are virtually endless, so don’t limit yourself to what I came up with. You can copy what I did completely or change it to fit your needs.

  1. First, you will want to come up with your list of “Open When’s”. Depending on what you decide to do, you may need more supplies. So it is good to establish what you are doing before you jump right in. These are the “Open When’s” I ended up with:
    • Open When…
      • Right Now
      • You Need a Good Laugh
      • You Can’t Sleep
      • You Want to Reminisce
      • You Need Some Support
      • You’re Missing Music
      • You Are Almost Finished
      • You Can See The Light At The End Of The Tunnel
      • You Miss Your Fur Babies
      • You Need A Smile
      • You Need to Hear How Much I Love You
      • You’re Wondering What I’m Up To
      • You Wish You Were Somewhere Else
      • You Have A Friend Who Is Struggling
      • You Want To Think About Our Future
      • You Have Impressed Yourself
      • You Had An Awesome Experience
      • You’re Missing Your Princess
      • You Need A Kiss
      • It’s Raining
      • You Just Want To Open One
      • You Are Angry
      • You Are A Happy Ranger
      • You Could Use A Pep Talk
      • When You Are Missing Your Friends
  2. Once you have established your list, you should start decorating the outside of your envelopes. I didn’t do anything elaborate, just a few embellishments around the edges.
  3. One-by-one, start writing the letters. Some of them should include more than just a letter. I included pictures with the letters to make it more personal. For the “Open When You Need A Kiss” envelope, I put on dark lip stick colors and kissed pieces of paper. After cutting each “kiss” out, I sprayed them with hairspray and added them to the envelope so they would fall out when he opened it.IMG_0483

Find your own creative ways to make each envelope special. If you are making your letters for your solider, don’t be afraid to do something cheesy. You’re corny little joke might be the only “funny” thing that happens that day. If you are making these for a friend or girlfriend/boyfriend, make sure to include personal touches where ever and when ever you can. I sprayed a lot of them with his favorite perfume of mine. Any little touch of home I could think of, I tried to use.

I can’t wait to give my stack of letters to my husband on his eight hour pass. I know it is going to brighten his day every time he gets to open one. Just knowing that I spent that much time on them will make him happy. Have fun with yours! There’s no wrong way to do them!

Update: I gave the letters to Zac and he was so excited to take them with him. He refused to pack them because he wanted to hold them. I can’t wait to hear what he thinks of them!

lyssa