Once Upon My Fairy Tale is now on Facebook!

NicetomeetchaHappy Thursday everyone! I decided to make a Facebook Page for everything Once Upon My Fairy Tale!!! Feel free to give it a like if you’re on Facebook and want up to the minute updates on my ever-changing adventures!

Once Upon My Fairy Tale’s Facebook Page

And don’t forget to follow us on Pinterest!

Once Upon My Fairy Tale’s Pinterest Page

Thanks a million! Check back for lots of new Disney, DIY, and Halloween post coming soon!

alyssa

MagicBands

IMG_9960My husband and I went to Disney World for our Honeymoon. Disney treated us to a lot of surprises. In this badly-lit, hotel room picture you see the things we acquired on the first day. Of course we got the wedding ears, and honeymoon buttons, but also in this picture you’ll notice my favorite thing we got that day. Our MagicBands.

Disney is always pushing limits and breaking through boundaries. I have been blessed enough to have the opportunity to visit Walt Disney World every six years from the first time I visited. The things I have seen change and develop each time I return, are mind blowing. But the one that caught and help my attention more than any other before it, is the MagicBand.

What is a MagicBand?

Simple! The MagicBand is your best friend.

It is your hotel key, your park tickets, your Fast Pass, your Memory Maker Pass, your money, and the most stylish AND functional accessory you will ever own.

Now I can see you thinking that it seems excessive or over the top, but allow me to break this down for you:

Upon arrival to Disney World, you will most likely need to check into your hotel. They will give you your hotel key. Then you will purchase your park tickets. You will need money to get food while you are in the park. You’ll need your camera and pretty soon, you’re wondering how you are supposed to carry all of this around without losing something. Especially if you have children!

But those days are gone, my friend.

You can choose from a variety of colors. Mine is pink and Zac’s is blue. They make charms to add to your band too! They even make customizations for your bands.

Your MagicBand IS your hotel key. You simply hold it to the Mickey Mouse sensor on your door, and when Mickey turns green, you’re in. (This only applies if you stay on Disney Property at a Disney Resort Hotel.)

Your MagicBand has all of your park tickets loaded onto it. You get into the parks in a similar way to how you get into your hotel room. Hold your MagicBand to the Mickey sensor and when it turns green, you place your finger on the finger print track. Once it confirms your finger print matches your band, you are in!

When you go to a dine in restaurant, you can charge your meal to your hotel room by using your MagicBand. You can also charge most souvenirs and things to your room the same way. This gets rid of the need to carry around as much money.

And with the ability to sync your Memory Maker Package to your MagicBand, there is no longer a need to carry around your camera!

And once you leave the park, don’t throw your band away! You can reuse your band for as long as they use the MagicBand system!

I recently learned that when attending the parks with children the band could help you locate a lost child who was separated from your group! No, the bands don’t have GPS trackers in them. (Although Disney can tell where you’ve been by tracking your spending and where you use your band.) But since you load your information onto the bands, if a lost child finds a Disney Cast member and the cast member scans the band, they should be able to access your phone number. This is an AMAZING feature. Be sure to tell your children what to do if they get separated from the group. Have a meeting place set. But also be sure to teach them that Disney Cast members are always there to help! Introduce your children to one so they know what they will be wearing. If your child did get lost and wanted to make their way to the meeting spot, a Cast member could help them navigate the park to meet you so they wouldn’t be alone, after they had contacted you!

MagicBands are game changers. And I’m sure in 5 years, when I hopefully go back, they will have found some way to top them. But until then, I will be amazed and share them with the world. I can’t wait to get back to the parks and use my favorite accessory again.

lyssa

Up Themed Anniversary Gift

IMG_0718I hold a special place in my heart for Disney movies, but the love story in the movie Up is especially beautiful to me. I am a sucker for a childhood sweetheart story. My husband and I met when we were kids. We went to the same day camp, almost every summer, for our whole childhood.

So on our first anniversary of dating, I decided to make his gift completely Up themed. I didn’t have this blog back then, so I don’t have pictures of the whole basket, or how I made things step-by-step. But I will do my best to explain what I did.

The first thing I made for his basket was Our Adventure Book:

In the movie, the character Ellie, writes the “Stuff she’s going to do” in her adventure book. She tapes in pictures and draws things in her book. So I tried to do something similar.

IMG_0719IMG_0721
Supplies:

     For the Outside:

  • a small, brown scrapbook
  • red paint
  • a picture of “Our Adventure Book”
  • Mod Podge
  • Xacto Knife
  • painters tape

      For the Inside:

  • notebook paper
  • masking tape
  • a pen
  • printed pictures of places you want to travel to

Directions:

    For the Outside:

  1. Tape a straight line down the left side of your scrapbook, front and back. Use a picture of Our Adventure Book as a reference. (I also painted the inside flaps of the books)
  2. Paint the left side red. It may take a couple of layers.
  3. Once the paint is dry, remove painters tape.
  4. Cut out the letters, globe, and rope accent from the picture of Our Adventure Book that you printed off.
  5. Place the rope accessory in the center of the red area you painted on the front of your book. Mod Podge it in place.
  6. Arrange letters and globe and Mod Podge them in place.
  7. Once dry, Mod Podge then entire book, front and back.

   For the Inside:

  1. I started by writing the story of how he asked me to be his girlfriend on the notebook paper. I ended the story by saying: “I have loved every second of this beautiful year and I can not even wait for all of the future adventures we will have together.” I wrote in a “childlike” style, to keep with the theme.
  2. I ripped the notebook paper edges roughly and used masking tape to hold it in place.
  3. Next I took the pictures of places Zac and I wanted to go together all over the world. I ripped the edges of them to make it look like I ” ripped them right out of the book!” just like Ellie did in the movie. Then I taped them in with masking tape and wrote the name of the place.
  4. I filled the book with all the places we want to go together.
  5. Then I went back and filled the extra space with doodles.

Back then, these adventures were very out of reach for us. But today, they are actually possible. So I have decided I am going to add more pages so I can tape in pictures of us visiting these places as well! We have visited Disney World and we are moving to Hawaii. So we are checking them off, one page at a time!


The second thing I added to his basket was Our Adventure Fund:

In the movie, they have a jar labeled “Paradise Falls” that they keep their change in. Something I have always done, is save my change. So this seemed like a logical thing to do with Zac.

IMG_0725

Supplies:

  • Change Jar
  • Notebook Paper
  • Masking Tape
  • Change

**I bought my change jar from Bed Bath and Beyond. It counts the change as you drop it in. You don’t have to buy this change jar.

Directions:

  1. Write “Adventure Fund” on the notebook paper, or anything else personal to you.
  2. Rip it out so it matches the Adventure Book.
  3. Tape it to the jar.

Through out the years, Zac and I have collected over $500 in change. This gift ended up being very practical for us. Since we haven’t sat down to roll the change, we are still collecting it. By the time one of us works up the patience to sit down and roll it all, we will have enough money for a really nice vacation.


Lastly, I put together his Up Themed Basket:

Supplies:

  • Basket
  • Adventure Book
  • Adventure Fund
  • Up on Dvd or BluRay
  • Candy
  • Photo in Frame
  • Balloons

Arrange all of the above together in a cute way. Give as a gift! Knock his socks off!

IMG_0717


Zac loved the adventure book, and we ate a lot of chocolate while we watched Up together.

I keep Our Adventure book in front of our DIY Travel Globe, on our dresser and they look GREAT together! Have fun with your Up themed gift, or use these Up themed Ideas for your wedding, party, or anything you could possibly think of!

**Note that all of these pictures were taken over two years and two moves after I made them. They are a little beat up, but they are still hanging in there!

lyssa

Darby Pass – Ranger School

This week has been one of the most mind blowing adventures of my life. I have stepped out of my comfort zone so many times, and every time I have been pleasantly surprised. Three days ago, I woke up with someone I had only just met, sleeping on my couch, and plans to go to breakfast with a group of girls I had only known for a couple weeks. But every single one of us had something in common that day.

We were waiting.

Waiting to hear the already decided fate of our soldiers. Waiting to find out if our men had passed through the first phase of Ranger School, or if they had recycled. Waiting to find out if we would see them the next day.

Just. Waiting.

Zac had told me in his last letter that he would know Wednesday night or early Thursday morning, which meant while we were all waiting on the edge of our seats, they already knew. That was the hardest part for me. Knowing that Zac was either extremely happy, or extremely upset and there was nothing I could do, was really hard.

Throughout that day, we all kept extremely busy. Making posters, preparing food, eating snow cones, some of us even went to put together goodie bags for the Ranger students. But for pretty much the entire day, we were all refreshing our phones waiting to see our man’s roster number on the Go list.

wpid-wp-1436719935958.jpegI will never forget the moment that list was posted. I was driving myself and a friend, Jaiden, home from packing up goodie bags. The two of us were extremely nervous. Our stomachs were betraying us and honestly, they had been all day. There was a rumor going around that the guys in a certain company weren’t doing well at all, and both of our guys were in that company. So waiting for the list was one of the most nerve wrecking things I have ever experienced. We were on the highway when she saw it go up and she screamed for 30 seconds before she even thought to look for their numbers. When she finally saw them both we were both so hyped up and excited, we couldn’t stop screaming. Zac’s cousin was following in the car behind us, and my phone was dead, so we were throwing our arms and thumbs up out of my sunroof to signal to her that he made it.

After a small victory dance in the parking lot of my apartment complex, the three of us went out for dinner and celebratory drinks and picked up more food to take to our men the next day. We had a couple of girls over to finish up posters for the next day and packed up our cars. When it was all said and done, we got to bed around 1:45 AM. Which wouldn’t be a big deal, if we didn’t have to wake up at 5:30 AM. But we were so excited, it didn’t take us long to get going that morning.

IMG_0682
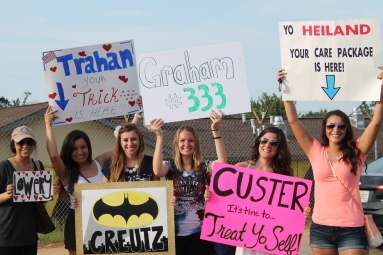
In my panicked, nervous state, I managed to jump the gun and take a wrong left turn driving to a place I had been several times before. But we still got there on time. At 7:15 in the morning there was already a decent amount of people there waiting. Since the guys wouldn’t be released until 9:30 at the earliest, people continued to show up as time went on. The energy in that parking lot was amazing. Everyone was so excited. Every time we saw movement on the other side of the gate, we all watched intently, just in case. A lot of the girls in our little group made signs. We proudly showed them off to the world and took lots of pictures with them.

I had been hanging out with a lot of the girls I was waiting with, for the better part of the last three weeks, but it wasn’t until we all went through that experience together that we all clicked as a “family”. I got to watch almost everyone in our group reunite with their man before Zac came out. I saw so many beautiful moments that morning, I can’t even begin to express how amazing that felt. Every time one of my friends hugged her man, I felt it. I felt the weight we had all been carrying lifting, just one reunion at a time, and it was one of the most inspiring ten minutes of my life.


IMG_0702And then Zac came out.  Time stood still for a minute. We hugged and kissed and I jumped like a school girl. It felt so amazing. Almost like falling in love with him all over again. And the rest of the day flew by in a blur. He told me stories and he ate. We watched Boondock Saints and Wayne’s World. He snuggled Koda and Smittens. He fell asleep while Katie and I did his laundry. He played a little Clash of Clans. We packed up his stuff. And as quickly as he came out of that gate, he went right back in.

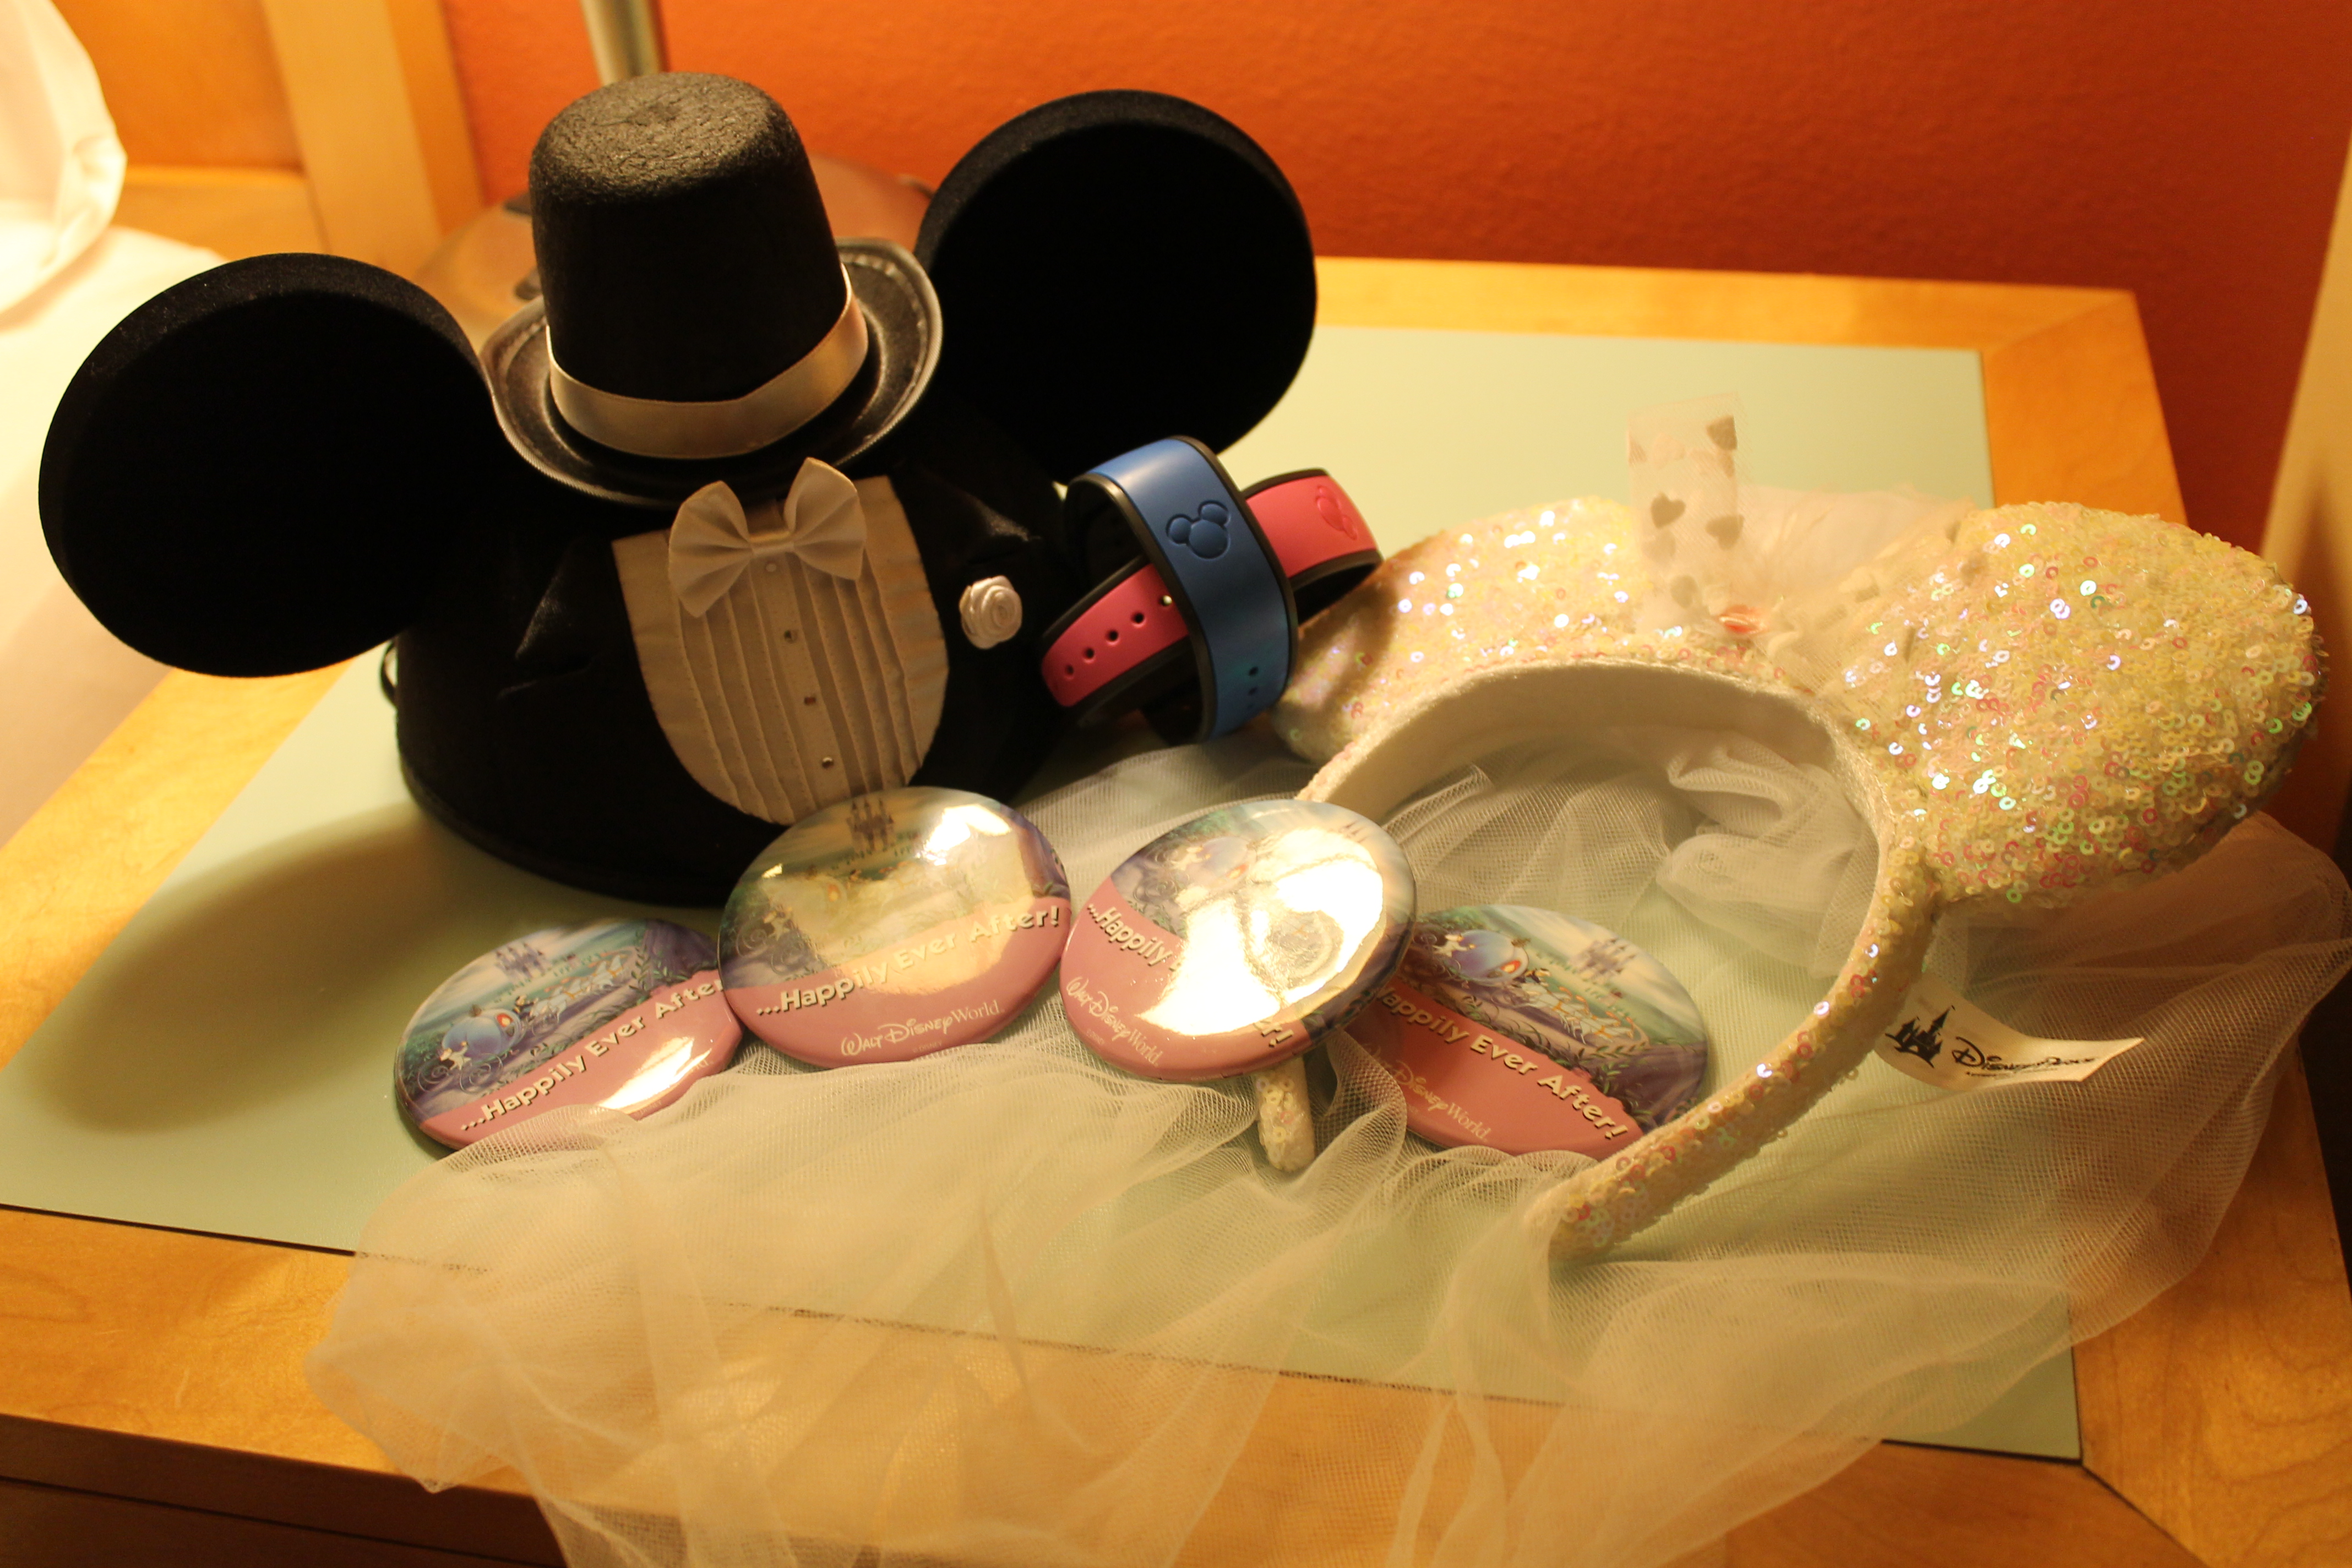
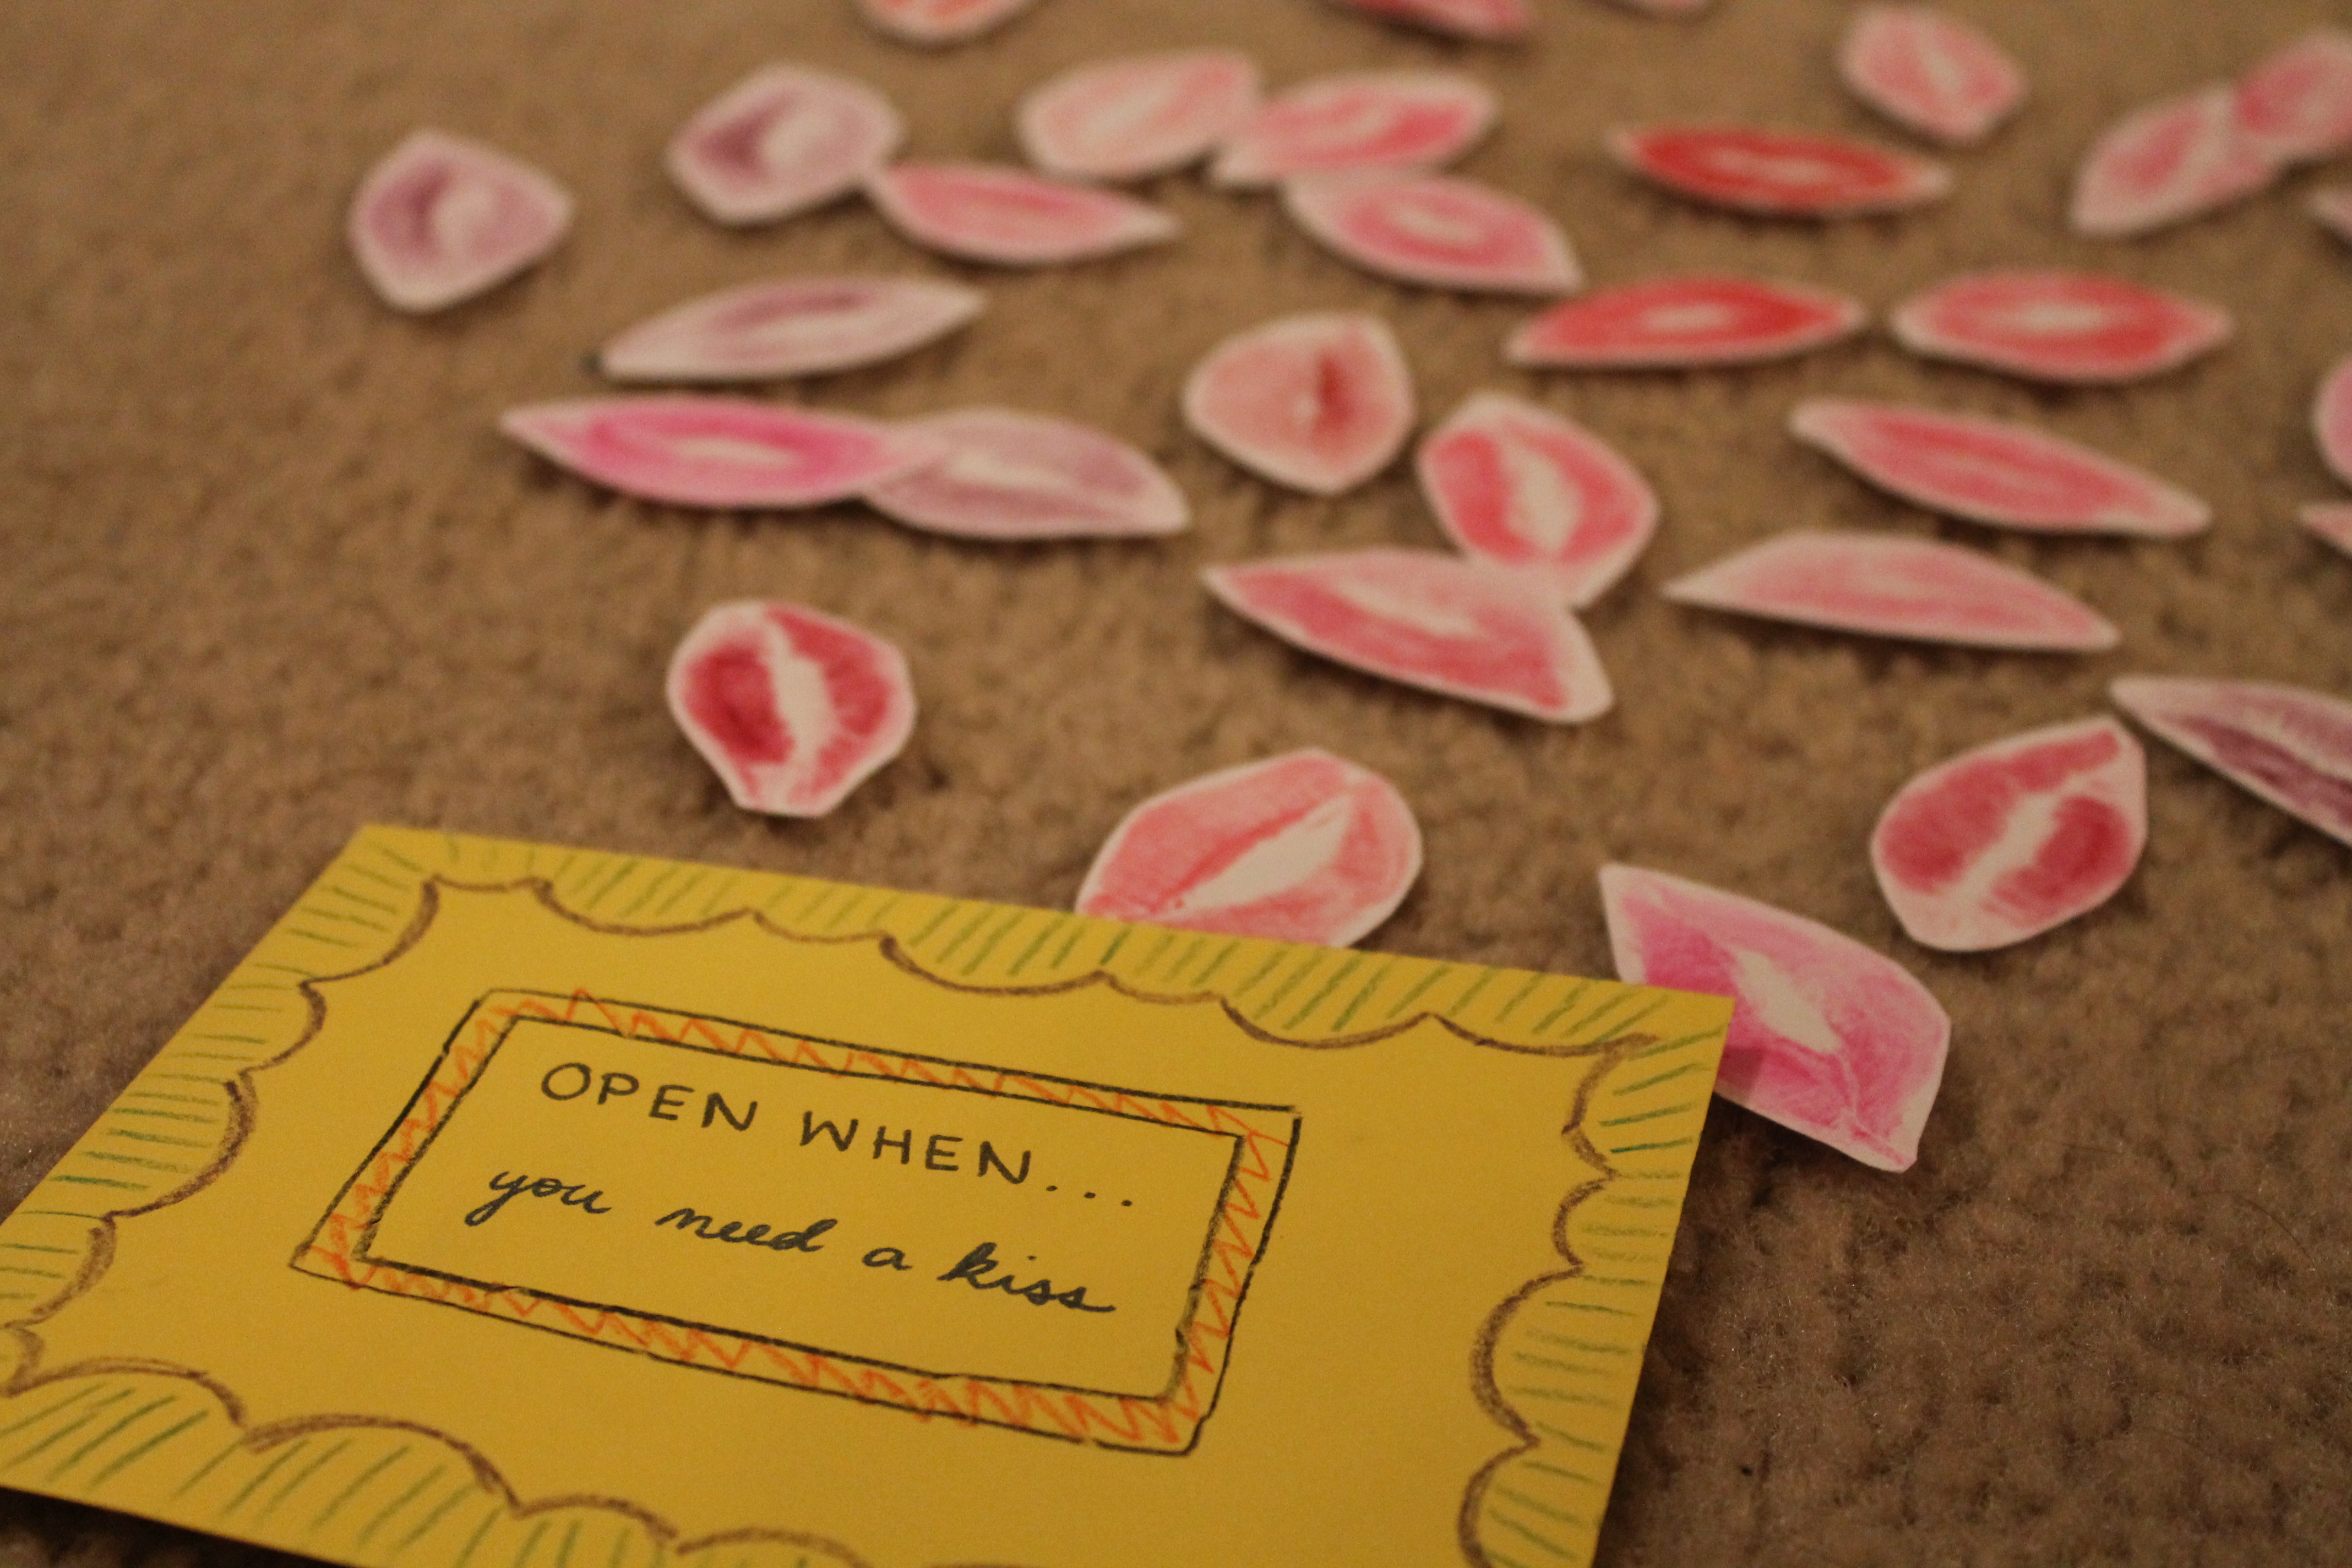
I didn’t expect to cry. But I did. We talked about how the next time we saw each other I would be putting his tab on his arm and he would be coming home. He gave me about six billion hugs, and every time he started to walk towards the gate he would turn back around and say, “Just one more.” I made sure he had his Open When letters and he assured me he’d never lose them. Watching him walk back through that gate was one of the most difficult things I’ve had to do in a while. Such a bitter sweet feeling that you just have to experience to understand.

wpid-wp-1436747797451.jpegAfter he was out of sight, I searched the parking lot for my friends. It didn’t take long before we all found each other. We shared stories, moments, some laughs and a few tears. None of us wanted to be alone so we all stayed together for dinner. We bonded so much through that shared experience. I am so excited to have such a solid support group through this whole adventure. We have grown closer to each other so much in such a short time. And I am so thankful for that.

Darby Pass lived up to the hype. It truly was worth all of the work that I put into it. It is crazy to think that I walked into this journey with free time and an open mind and walked out with a hilarious group of friends. These next five weeks will seem a little less lonely now, and my Ranger will be home before you know it.

lyssa

Open When Letters

IMG_0484“Open When Letters” are a pretty common thing on Pinterest these days. Everyone has their own take on them. If you haven’t heard of them, “Open When Letters” are letters written in bulk and given to someone all at one time so they can open them later. Each envelope is labeled with a different situation in which it should be opened. For example, an envelope could be labeled “Open When It’s Raining” or “Open When You’re Angry”.

People have been making “Open When Letters” for a wide range of reasons. I have seen them given as graduation gifts to high schoolers, as a going away presents from one friend to another, and something a couple holds onto in a long distance relationship. For as often as they pop up on Pinterest, I never thought I would ever actually want to make them.

Until my husband went to Ranger School.

I found a group of wives and girl friends whose significant other was also in Ranger School with Zac. Writing “Open When letters” was recommended to us. We were told that students would cling to them during their second phase so sending them back after their Darby Pass with letters in had would be helpful.

So I decided to give it a try. Here’s what I came up with.

IMG_0503Supplies:

  • Colorful Envelopes
  • Paper or Stationary
  • Markers or Colored Pencils/Pens
  • Access to Printing Pictures
  • Laminate sheets (optional)
  • Scissors

**I bought a blank stationary kit so everything would match. The paper was small, which worked for my situation because Zac wouldn’t always have a lot of time to read these when he needed them. I printed all of the pictures I needed at home from my printer. I also bought laminate sheets from target that didn’t require a machine. If your intended recipient isn’t going to be drudging through swamps, you probably don’t need to laminate your pictures.

Directions:

The possibilities for this are virtually endless, so don’t limit yourself to what I came up with. You can copy what I did completely or change it to fit your needs.

  1. First, you will want to come up with your list of “Open When’s”. Depending on what you decide to do, you may need more supplies. So it is good to establish what you are doing before you jump right in. These are the “Open When’s” I ended up with:
    • Open When…
      • Right Now
      • You Need a Good Laugh
      • You Can’t Sleep
      • You Want to Reminisce
      • You Need Some Support
      • You’re Missing Music
      • You Are Almost Finished
      • You Can See The Light At The End Of The Tunnel
      • You Miss Your Fur Babies
      • You Need A Smile
      • You Need to Hear How Much I Love You
      • You’re Wondering What I’m Up To
      • You Wish You Were Somewhere Else
      • You Have A Friend Who Is Struggling
      • You Want To Think About Our Future
      • You Have Impressed Yourself
      • You Had An Awesome Experience
      • You’re Missing Your Princess
      • You Need A Kiss
      • It’s Raining
      • You Just Want To Open One
      • You Are Angry
      • You Are A Happy Ranger
      • You Could Use A Pep Talk
      • When You Are Missing Your Friends
  2. Once you have established your list, you should start decorating the outside of your envelopes. I didn’t do anything elaborate, just a few embellishments around the edges.
  3. One-by-one, start writing the letters. Some of them should include more than just a letter. I included pictures with the letters to make it more personal. For the “Open When You Need A Kiss” envelope, I put on dark lip stick colors and kissed pieces of paper. After cutting each “kiss” out, I sprayed them with hairspray and added them to the envelope so they would fall out when he opened it.IMG_0483

Find your own creative ways to make each envelope special. If you are making your letters for your solider, don’t be afraid to do something cheesy. You’re corny little joke might be the only “funny” thing that happens that day. If you are making these for a friend or girlfriend/boyfriend, make sure to include personal touches where ever and when ever you can. I sprayed a lot of them with his favorite perfume of mine. Any little touch of home I could think of, I tried to use.

I can’t wait to give my stack of letters to my husband on his eight hour pass. I know it is going to brighten his day every time he gets to open one. Just knowing that I spent that much time on them will make him happy. Have fun with yours! There’s no wrong way to do them!

Update: I gave the letters to Zac and he was so excited to take them with him. He refused to pack them because he wanted to hold them. I can’t wait to hear what he thinks of them!

lyssa

DIY Travel Globe

IMG_0481

Last week, I started a weekly craft challenge. This is my week two project.

My husband and I want to do a lot of traveling together. This time next year we will be living in Hawaii and who knows where his military career will take us. So I wanted to make something to show off all the cool places we have been and will go in the future. There are so many ideas on Pinterest. I have seen maps with pictures cut out in the shapes of the places they had been, needle point maps with states stitched in, and maps with pins marking their travels. Since we already have signs labeling the duty stations we will travel to, we didn’t want another thing to hang up. We decided to use a globe and paint in the places we go together.

Supplies:

  • Globe
  • Paint Markers
  • Paint
  • Paint Brushes

Directions:

  1. The first step is finding a globe. I looked for a few months before I found one I wanted to use. Depending on where you look, globes can be very expensive. I found mine at Target for around $20. It was the best price I could find. But I would check at your local thrift stores before making the trip to Target. You could get lucky and find a good one for a very good price. IMG_0471
  2. Once you find your globe, the next step is to paint in your globe. Unless you like the look of your globe, you will want to paint it. My globe has a gold base, so I used a gold paint marker to fill in all of the land. If you are concerned with getting every single detail correct, I would get a fine tip paint marker. The markers are easier to control and some of the islands are very small. IMG_0472
  3. The water on my globe is navy blue and I liked the way the navy and the gold went together so I decided I wanted the water to stay navy blue. But I needed to cover up all of the words and markings so the globe would be consistent. I chose the closest navy blue paint I could find. Keep in mind, painting a round object presents its own set of challenges. If you can find a paint marker in the color you decide to use, use it. If not, use a fine tip paint brush.IMG_0474
  4. Touch up any places that may need a second coat of paint.
  5. Once your whole globe has been painted, you need to pick a color that you will have easy access to for a long time. The whole point of this project is to document your travels throughout your life time, so don’t choose a color that is going to be hard to find down the road. I chose silver.
  6. Color in all of the places you have already been.IMG_0476
  7. As a final touch, I used a white paint marker and drew in our home state, Ohio. I also drew a gold heart and outlined it in black, on Cincinnati. You can do the same on your home state and city. IMG_0478

Have fun with your globe! Make it personal to your family and it will mean so much more to you! I am hoping we fill up our globe with paint and memories. I can’t wait to see all the places our travels take us.

lyssa

Brushes and Beverages – Uptown Columbus, Georgia

Uptown Columbus, Georgia has quite a bit to offer. After living right outside of Uptown for seven months, I thought I had found all of its gems. But recently I stumbled onto Brushes and Beverages. I must have walked right by it countless times without ever knowing it was there.

Brushes and Beverages is a cute little art studio where anyone can paint a masterpiece while enjoying a glass of wine. The set up is very “beginner friendly”. I went with two of my friends on a Saturday night. They were pretty busy, but they were still very helpful and got us set up and painting as quickly as they could. When you walk in, you are greeted by an employee who explains prices and set up to you before you are seated. After receiving your canvas, you are free to walk around the studio and choose a painting off the walls. Once you find one you want to attempt, the workers get your pallet and prep your canvas for you to start. If you need shapes drawn, they will draw them for you and walk you through everything step-by-step. If you are a seasoned painter, don’t shy away. If you want to attempt it on your own, they are more than happy to let you do your thing. Either way, they make their rounds and help who ever needs it. wpid-20150613_215239.jpg

Katie chose a beach scene, Tabitha chose an elephant painting and I chose a picture of Marilyn Monroe. The workers warned me that Marilyn was not a two hour painting, but I confidently told them that I could do it. Boy, was I wrong. But they let me stay an extra half hour after they closed, sent me home with extra paint, and a brush, and even took our picture for us. I was very impressed that they weren’t rushing us out the door 30 minutes after they closed on a Saturday night. They really did want their customers to be happy.

We were already planning our second visit before we even reached the door.

Brushes and Beverages gets the “Lyssa Stamp of Approval”

lyssa